Building a Custom Showcase for Your Hockey Card Collection

Over 80% of high-end sports card collectors cite environmental degradation—specifically UV exposure and humidity—as the primary threat to their long-term collection value. This post breaks down the technical requirements for building a custom showcase, from selecting UV-resistant materials to calculating the load-bearing capacity for heavy slab collections. You'll learn how to build a display that protects your investment while making your centerpiece cards the star of the room.
What Materials Should I Use for a Card Showcase?
The best materials for a hockey card showcase are high-grade acrylic or tempered glass paired with UV-resistant-coated surfaces. If you're displaying high-value graded cards from companies like Panini or PSA, the material choice is actually a matter of preservation, not just aesthetics.
Standard plastics often off-gas chemicals over time, which can lead to a "foggy" look on your card sleeves. This is a nightmare for collectors of vintage cardboard. You want to avoid cheap, thin acrylic that warps under its own weight. Instead, look for heavy-duty-duty acrylic sheets (at least 3mm to 5mm thick) for the structural base. It's a small price to pay to avoid a collapsed display.
Common Material Options:
- Acrylic (Plexiglass): Lightweight, shatterproof, and excellent for modern-looking builds.
- Tempered Glass: Provides the clearest view and won't scratch easily, but it's heavy and fragile.
- Polished Wood: Great for the outer frame to give the collection a premium, "museum" feel.
One thing to watch out for is the type of adhesive you use. If you're gluing components together, ensure the adhesive is acid-free. If you use standard superglue on a display, the fumes can actually damage the edges of your card holders. It’s a mistake I see way too often in amateur builds.
If you're currently displaying your most valuable pieces in basic sleeves, you should stop using standard toploaders for your most precious cards and move toward more permanent, rigid protection during the display process.
How Much Does a Custom Display Case Cost?
A custom hockey card showcase typically costs between $150 and $800 depending on the scale and the quality of the lighting system. You aren't just buying a box; you're building a micro-environment for your most prized assets.
Small, single-tier displays for a handful of graded cards are cheap. You can build one for under $50 using basic wood and a single sheet of acrylic. However, if you want a large-scale cabinet that holds several hundred cards, the price jumps significantly. The cost is driven by two things: the weight of the materials and the complexity of the integrated lighting.
| Display Type | Estimated Cost | Primary Benefit |
|---|---|---|
| Single-Tier Acrylic Box | $30 - $75 | Portability and desk-top visibility. |
| Wall-Mounted Shadow Box | $100 - $250 | Space-saving and eye-level viewing. |
| LED-Integrated Cabinet | $400 - $1,200+ | Maximum protection and "wow" factor. |
Don't forget to factor in the cost of the lighting. LED strips are the industry standard because they produce very little heat. Heat is the enemy of paper. If you use old-school incandescent bulbs, you'll literally bake your collection. (And nobody wants a melted rookie card, right?)
How Do I Prevent UV Damage to My Cards?
To prevent UV damage, you must use UV-filtering acrylic or install UV-protective film on any glass surfaces. Sunlight is the fastest way to fade the ink on a rare hockey card, especially on older vintage cards where the ink chemistry is less stable.
If your display is going to sit in a room with windows, you have a problem. Even if the display is closed, the light will penetrate. You can mitigate this by using "Museum Grade" acrylic. This isn't just marketing fluff—it's a specific type of material designed to block up to 99% of harmful UV rays. It's more expensive, but it's a worthy investment for a high-value collection.
Here's the thing: even with UV protection, you still need to manage the environment. A showcase is a closed system. If you trap heat inside, the humidity can spike. I always recommend placing a small, inconspicuous silica gel packet in the base of your display to regulate moisture levels. It's a cheap way to keep your cards from getting "wavy" or developing spots.
For more on how to maintain the physical integrity of your cards, check out my guide on gently cleaning your hockey card collection. While cleaning is a different process, the principles of moisture control are the same.
Designing the Layout: Aesthetics vs. Function
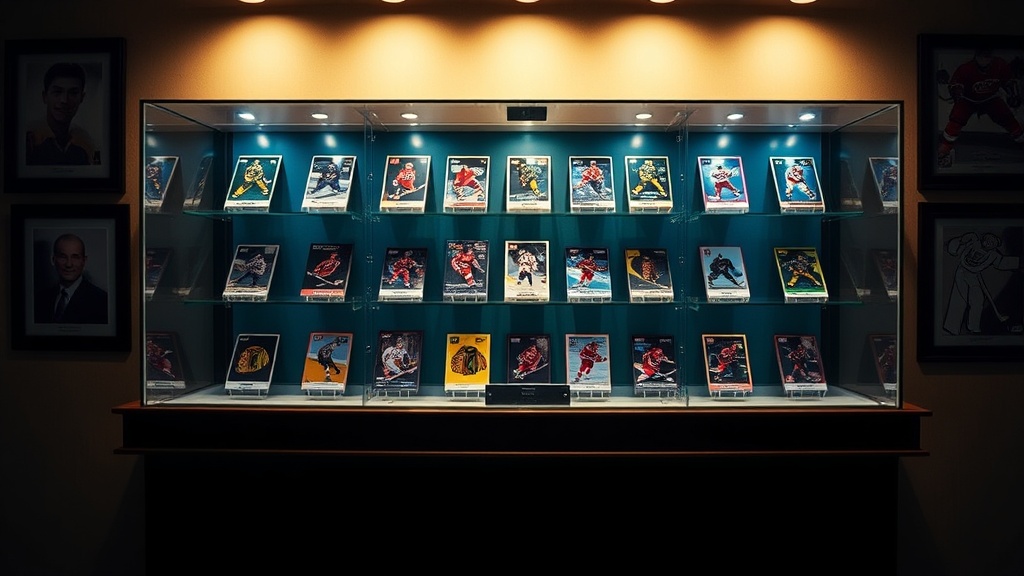
When you're designing the interior, don't just throw cards in a pile. A professional display uses levels. Use tiered risers to ensure that the cards in the back are still visible over the cards in the front. This creates a sense of depth.
If you're displaying graded slabs, you'll need to account for the extra thickness. A standard card is roughly 0.3mm thick, but a graded slab can be 7mm to 10mm thick. If your shelves are too narrow, the slabs will lean, which can cause stress on the corners of the plastic. It's a subtle detail, but it matters for the long-term presentation.
- The Centerpiece: Place your most valuable card (your "grail") in the dead center at eye level.
- The Supporting Cast: Place secondary cards on tiered steps around the centerpiece.
- The Background: Use a dark, matte background (like black velvet or matte-finish cardstock) to make the colors of the cards pop.
Avoid using bright, reflective backgrounds. A shiny silver or white background can create glare that makes it hard to see the actual card details. Most high-end collectors prefer a dark, non-reflective surface because it draws the eye directly to the card's artwork and the holographic elements.
One final tip—always test your lighting before you seal the case. Turn the LEDs on and leave them for 24 hours. If the temperature inside the case rises even a few degrees, you need to increase the ventilation or change the light source. You want to see the cards, not the heat signature of your display.
Steps
- 1
Measure Your Available Space
- 2
Select Your Primary Material
- 3
Plan Your Tiered Layout
- 4
Install Integrated Lighting